This post can contain affiliate links, which means I may receive a commission, at no extra cost to you, if you make a purchase through a link.
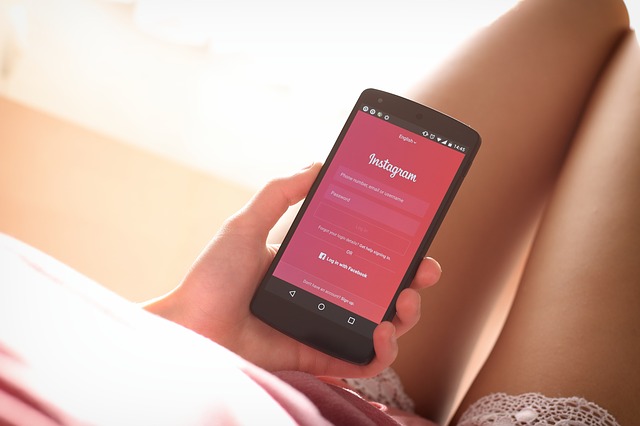
We all know that you had to be either verified or have over 10k followers on Instagram to be able to use the swipe-up function to promote your links. Now Instagram decided to remove that and put in a new function, but the new link button on stories hasn’t come out to everyone yet. Adding links to your post doesn’t work either, so the only link option you have is your Instagram bio link. But you can only post one link there, what if you have multiple things you want to promote?
Well, you might’ve heard, or used, Linktree. It’s a great opportunity to share multiple links on one site. BUT, since you’re going through Linktree, you will also have their watermark at the bottom of your page and you don’t really have many design options to choose from. If that doesn’t bother you, then you should try them out! But if you wanna create your own, professional one-page however you like, without anyone’s watermark but your own, then keep reading.

What is an Instagram bio link?
Let’s just start off by explaining what a bio link is, for the people who have no clue what I’m talking about. In your Instagram bio, you’re able to add one link that will showcase whatever you want, it can be your blog, lastest post, Spotify account, another social media, just about anything that you can link to. But you can only add one link.
How to make your own one page with multiple links
Alright, now we’ve come to the point where we need to make our own one-pager.
1. Open up Canva
First you open up Canva and go to the search box and type in Bio link website. Then you can either filter the free ones (unless you have Canva Pro), or you can filter with the help of the different themes on the left side. Pick your favorite or press the “Create a blank bio link website”. Now it’s time to be the creator and design however you like.

2. Time to link up
When you’re done being the artist, it’s time to link up. Select your first word/image/whatever you want to link, I chose the word “Blog” and then in the upper right corner next to “Animate”, press the three dots and then link/ or the link button straight away if it’s there. Then I added the link to my blog and pressed apply. Do that for all of your words/images and I also added some other social media logos at the bottom, which I also linked the same way.


4. Save and Publish
When you’ve linked them all, it’s time to save it, or in this case, “Publish as a website”. After that, you can choose between four different styles. Since it’s only one page, and I also don’t want a navigation bar at the top, I picked the second one, “Scrolling”, and pressed “Open Website.”

5. Time to make your link less ugly
Now we have our link to the one-page site you just made. As you can see it’s pretty long and kinda ugly and you don’t want that in your bio. So to fix that you need to shorten that link. There are probably a few sites out there that can do this, but I picked bit.ly because it was so easy.
How to shorten your links with bit.ly
- Create an account (it’s free)
- Press the big orange “Create” button
- Paste your long link from Canva
- Delete the text in “Customize Back-Half”
- Write whatever you want the link to be in that same box ( it will be bit.ly/whateveryouwant )
- Done!
Now you have your short link on your dashboard. Now all you have to do is to press Copy and go to your Instagram account, edit your profile, and paste the link as your Website.
And look at that pretty one-page Instagram bio link you just made in no time at all and without watermarks, and best of all, it was totally free!

Let me know in the comments if you tried it out, or have any other way to make these one-pagers!
Until next time,
Sayonara